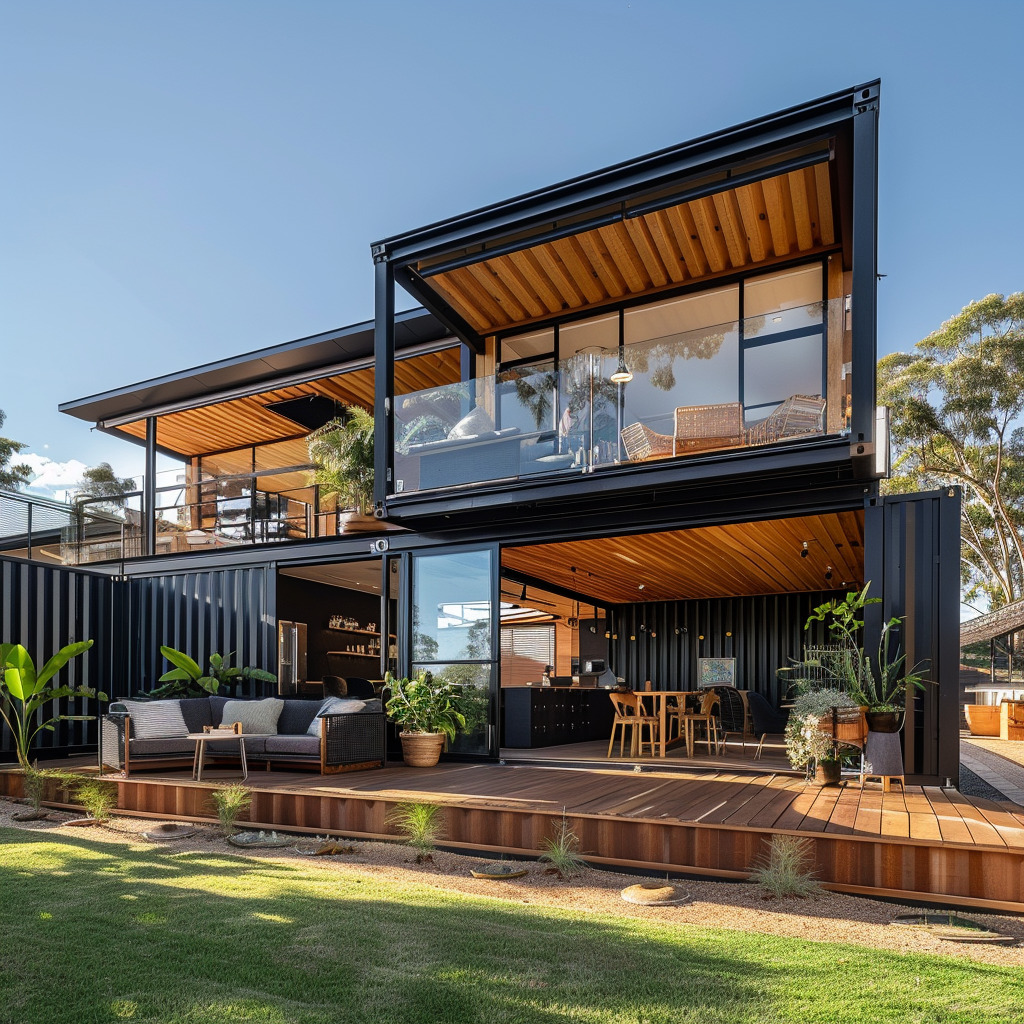
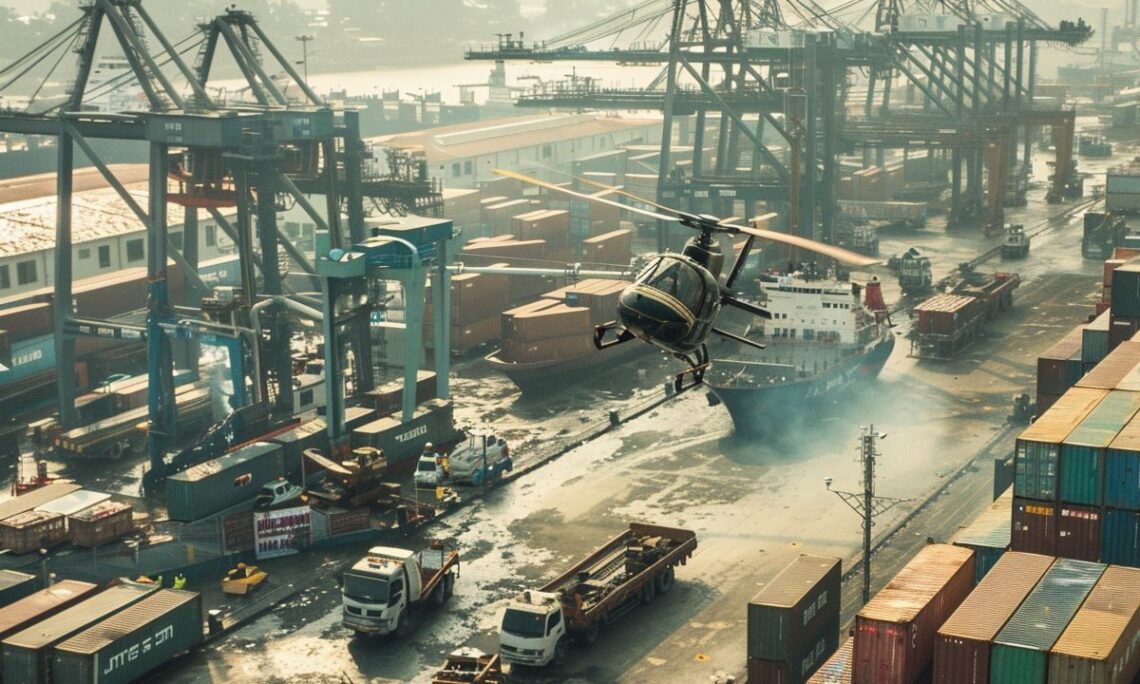
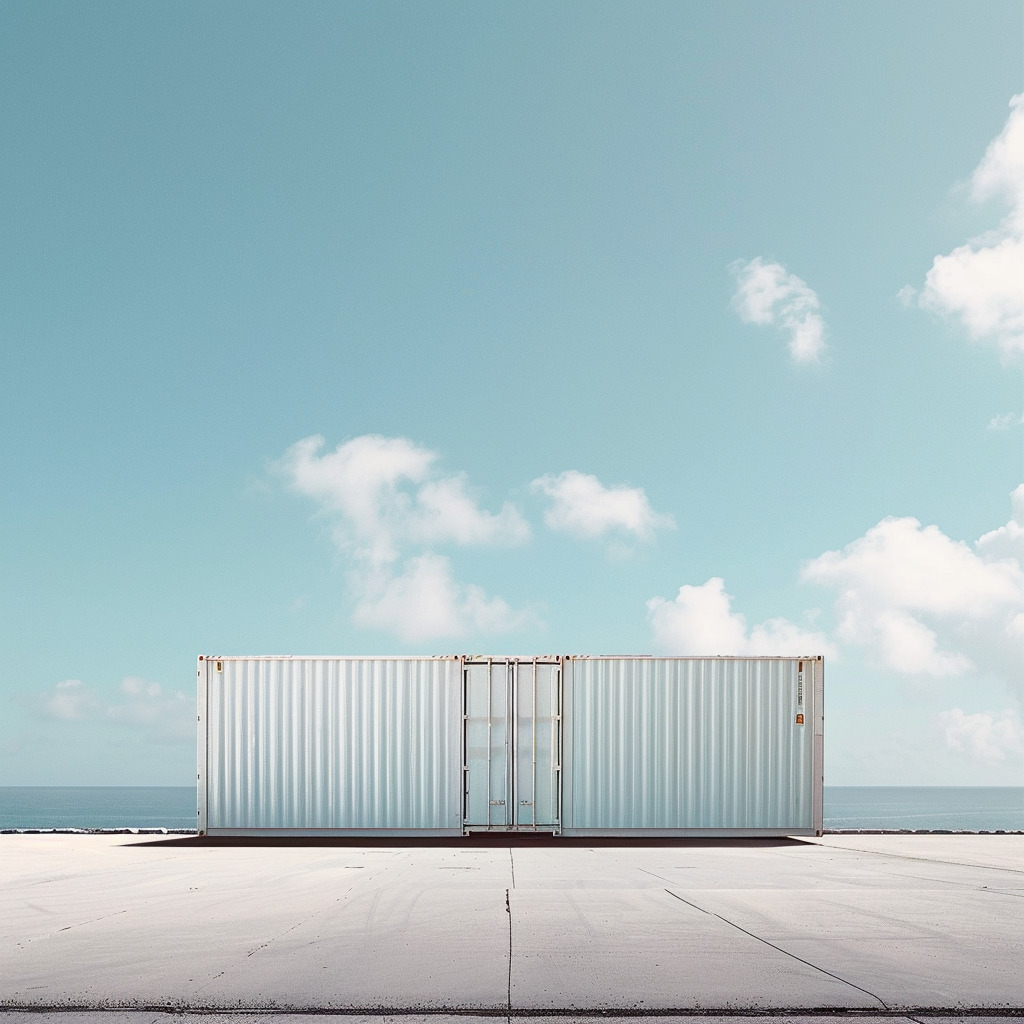
In 1956 the first shipping containers departed on their voyage from Newark to Houston on a modified oil tanker. Fast forward 60 years and shipping containers are the backbone of modern trade, as well as a vital component in housing, construction, storage and more. But how are they made?
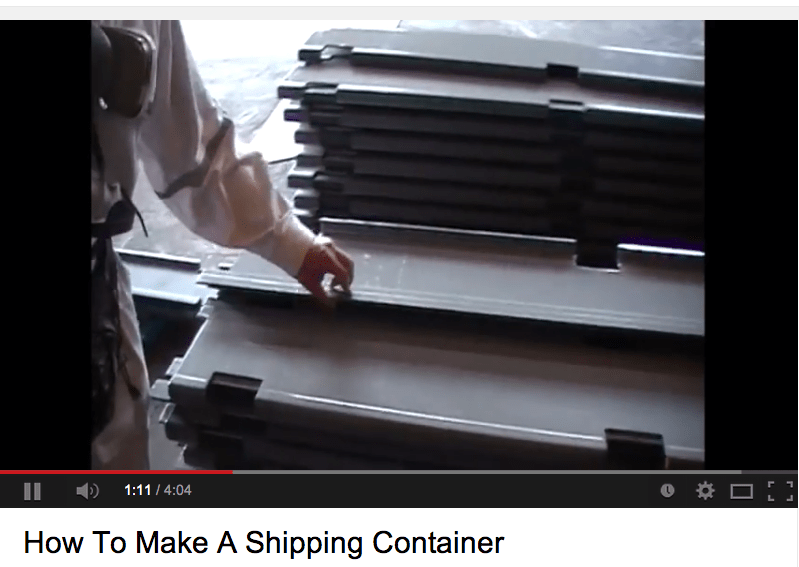
It turns out that there isn’t much information about how these 40 foot long boxes are born, so our CEO departed on an adventure to Tianjin, China to document the birth of these steel sea creatures during his last acquisition trip to manage the production and quality control of brand new “A-Grade” shipping containers.
Step By Step Process for Manufacturing Shipping Containers
Shipping container factories in China are massive buildings, with construction specialists decked out in full safety gear, using heavy duty machinery to weld, cut, rivet and join the pieces of the puzzle that make the seaworthy boxes we specialise in. Sparks fly everywhere as the containers in various stages of manufacture move down the production line.
Step 1: Cutting to Size
Every shipping container begins its life as a giant roll of steel. The process begins by unrolling the steel and cutting it into pre measured sheets depending on the size of the shipping container. A metal stamping process is used to produce the desired form.
Step 2: Sandblasting & Priming
Once the steel is stamped into the correct size and shape it is sandblasted and primed to both prepare the metal for painting & welding and to protect it.
Step 3: Assembly
The construction stage begins with the welding of individual wall panels (all in a production line, so these are all made in different areas before being combined together at a later stage), roof panels, floor braces and other components before square tubing is welded to the top of the wall along with the corner frame, floor frame and corner post assemblies.
All major components are assembled using a Jig to ensure straight and flush fitting. The door frame is assembled in this way, with all joints welded into place before the door bar it fitted. Doors are installed onto the floor frame, then wall panels, finally the roof panels are fitted and installed into place.
Step 4: Quality Control & Painting
At this stage its time for quality control processes and a final sandblast before painting. Our containers are painted using a special automated process that paints both the base and top coats of our brand new shipping containers. Once this is done the painted box is ready to emerge, before application of decals and any paint touch ups that might be required.
Step 5: Flooring
After painting the container is ready for the installation of its flooring. Floorboards are first varnished to protect them against harsh conditions and repeated use. Floorboards then installed before being secured with a combination of glue and pre drilled screws.
Step 6: Doors
Door hardware is now ready to install, with the door handles, and security features. Rubber seals are then installed on the doors for watertightness and the base of the container is fully waterproofed. The inside is waterproofed completely to ensure that your container is seaworthy. All containers are then thoroughly tested for watertightness, holes or leaks.
Step 7: Final Inspection
A final inspection is then carried out to ensure that your container is up to the high standards that make it a Grade A container. Once this is complete your container is ready to begin its life travelling the high seas as a shipping container.
Filmed on Gateway Container Sales & Hire CEO Mark Finnegan’s iPad, and edited by the amazing team at L.A. Filmscope.
Need Shipping Containers?
Do you require brand new or second hand shipping containers? Contact Gateway Container Sales & Hire team of container experts. They can provide you with anything from brand new A Grade containers for sale, right through to budget containers or those that are perfect for modification.


