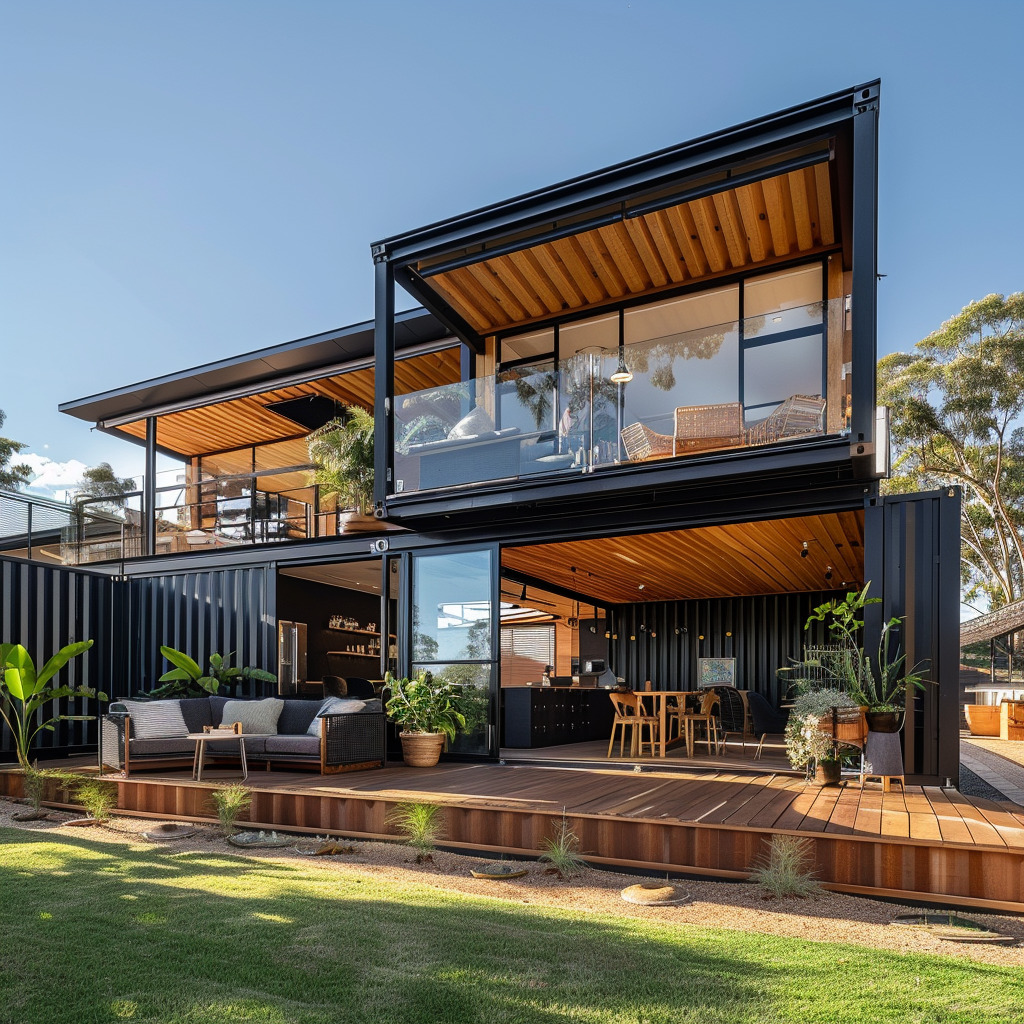
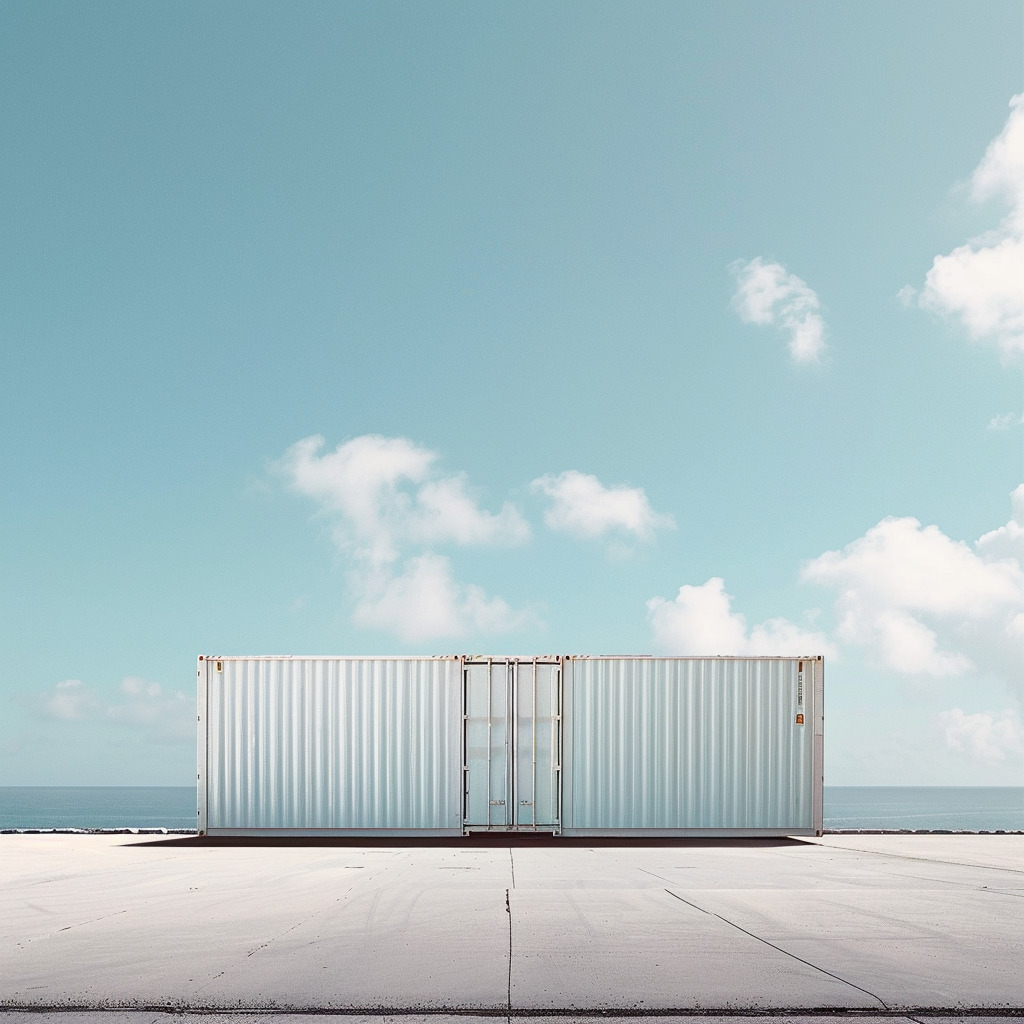
Have you ever dreamed of having your own home gym, but don’t have the additional space or the budget to make it happen? A shipping container gym could be the answer. With a little planning and preparation, you can easily build a unique and durable workout station in your own backyard.
Not only are shipping containers affordable and strong, but they also provide the perfect foundation for customising the interior to create a unique dedicated space for your workouts.
With the right tools and materials, you can easily create an aesthetic home gym in a few weekends. Let’s take a look at the steps to building a shipping container home gym.
Tools and materials needed for your shipping container gym
Of course, the first thing you need is a shipping container. But there are a few other items and materials you’ll need to build your shipping container gym.
Foundation: The first step is to create a solid foundation for your shipping container gym. This can be done with concrete blocks, timbers, or other materials depending on the size and weight of your container.
Flooring: You will need to install flooring inside your container gym. This can be done with hardwood, rubber tiles, vinyl, or other materials. For a gym, you want floor space that is easy to clean and not too slippery.
Insulation: If you are planning to use your shipping container gym in a cold climate, you should consider insulating it to keep it warm. You can use foam insulation, spray foam, or other materials. Keep in mind that insulation will also help reduce noise.
Power and Lighting: You will need to install electrical wiring and lighting inside your shipping container gym. This should be done by a professional electrician.
Equipment: Depending on the type of workout you want to do, you will need to buy the necessary gym equipment. This could be weight benches, barbells, dumbbells, medicine balls, treadmills, ellipticals, exercise bikes, and more.
Storage: You may need to add storage space to your shipping container gym. This can be done with shelves, cabinets, or other types of storage solutions.
Ventilation: Make sure to install adequate ventilation inside your shipping container gym. This will help keep the air fresh and reduce the amount of moisture buildup. Shipping containers do not have windows, but you can cut windows into it. Gateway is a professional shipping container company that can help with this modification.
Safety: You should also make sure to install safety features such as fire extinguishers, emergency lighting, and proper ventilation.
These are the basic tools and materials you will need to build your shipping container gym. Depending on your specific needs and preferences, you may need to buy additional items.
Equipment for your alterations
Take a look at what you may need in order to build your shipping container gym:
- Tools, such as saws, pliers, drills, and hammers, will be needed for cutting and shaping the shipping container for your alterations
- Materials, such as insulation, drywall, and paint, will be needed to finish the interior of the container
- Fasteners, such as screws, bolts, and nails, will be needed to secure the materials to the shipping container
- Safety gear, such as gloves, eye protection, and a dust mask, will be necessary when performing the alterations
- Ladders and scaffolding may also be necessary for reaching higher areas of the container
- Tools such as a level, measuring tape, and a square will be needed for precise measurements
Gateway can take the hard work and stress out of building your shipping container gym. We offer a complete service, from design to construction, to ensure that your shipping container gym is built to your exact specifications.
Preparing your container home gym
There are a few things you need to do to prepare your shipping container gym.
1. Inspect the container to make sure it is in good condition and free of any damage
This includes checking for any dents or holes in the walls, floor, or ceiling, as well as any rust or corrosion. Many shipping containers come with a warranty, so it is important to check that the warranty is still valid and that the container meets all safety standards.
2. Measure and mark the location for any openings you need to make in the container
This includes any windows or doors, as well as any ventilation points. Make sure to measure twice before cutting, as any mistakes could be costly. Measure twice, cut once!
3. Cut openings for windows and doors
You can use a saw or other cutting tool to make the necessary openings. Make sure to use the appropriate safety equipment when cutting. Use levels, a square, and other tools to ensure the openings are cut correctly.
4. Paint the interior of the container to protect it from corrosion and rust
Use a paint that is specific for metal to ensure maximum protection. Take care to prime and paint any areas that have been cut or welded.
5. Secure the container to the ground
This is an important safety step, as the container can be quite heavy when filled with equipment and people. Use concrete anchors or other secure methods to ensure the container is well secured.
6. Install any necessary electrical and plumbing
This includes any ventilation systems, lighting, and electrical outlets. Make sure to use a licensed electrician to ensure the wiring is done correctly and safely.
7. Install any gym equipment you need
This includes any exercise equipment, storage units, and any other items you need to make your gym complete. Make sure to use the appropriate tools and hardware when installing your gym equipment.
8. Clean the container
Vacuum, mop, and wipe down any surfaces to ensure your shipping container gym is clean and ready to use.
Interior customisation tips
When it comes to your shipping container gym, there are many customisation options to meet your specific needs.
Insulation: In colder climates, adding insulation to the walls and ceiling will help keep the temperature inside the container comfortable and consistent. It’ll also help soundproof the gym space.
Walls and Dividers: Adding walls or dividers will help create separate workout areas. This is especially helpful for people who need to keep different types of equipment separate, or want to have a quiet space for yoga or stretching.
Flooring: For comfort and durability, installing flooring in the container is a great idea. Rubber mats, interlocking tiles, and composite materials can all be used to create a comfortable and durable workout space.
Equipment: Depending on what type of workout you’re planning on doing, you may want to install additional features or equipment. Mirrors, racks, free weights, and any other pieces of gym equipment you may need can all be installed in the container.
Lighting: Proper lighting is essential for any workout space. Consider adding additional lighting to the container to ensure you can properly see the equipment and perform your exercises safely.
Ventilation: Depending on the type of workout you’re planning on doing, you may want to consider adding ventilation to the container. This will help keep the air in the container fresh and prevent the build up of moisture or odours. You can cut windows into the container walls or install fans to help with ventilation.
By making these customisations to your container gym, you can create a comfortable and functional workout space that will help you achieve your fitness goals!
Adding the finishing touches
Once you’ve made all of your customisations to the container, it’s time to add the finishing touches!
Painting or Finishing: Painting or finishing the interior and exterior of the container is a great way to personalise it. Whether you’re going for a sleek and modern look or a more rustic vibe, you can customise the container to match your style.
Lighting: Adding lighting to the container will help you see your equipment and perform your exercises safely. You can purchase LED lights that are designed for containers, or even install solar-powered lights for a more environmentally friendly option.
Ventilation: For those who are planning on doing more intense workouts, installing ventilation is a great idea. This will help keep the air fresh and prevent the build up of moisture or odors. You can cut windows into the container walls or install fans to help with ventilation.
Amenities: If you want to enhance the functionality of your container gym, consider adding additional amenities. You can install a refrigerator for storing snacks or drinks, or even a mini stereo system to help keep you motivated during your workouts.
Safety: Safety should always be a top priority when converting a container into a gym. Make sure to install safety features such as railings, guardrails, or non-slip surfaces. You can also add emergency exits or safety lighting to help ensure that everyone is safe while using the compact space.
With these tips, you should be well on your way to creating the perfect container gym. Make sure to take your time and plan out all of the details before you begin your project. With careful planning and a few simple steps, you can create a safe and effective container gym that you can use for years to come.
Conclusion
Building a shipping container gym can be an exciting and rewarding project. By customising the interior and finishing the exterior, you can create a unique workout space that is tailored to your needs.
Enjoy the advantages of having a portable gym that can be installed in any location, and take advantage of all the benefits that a shipping container can offer.
When it comes to constructing your container gym, be sure to work with an experienced professional who can help you with the design and installation process.
Gateway is a great option for sourcing your container, bouncing around gym container ideas and making any shipping container modifications required. With our help, you can easily create a shipping container gym that is perfect for your needs. Contact us today.


